If you have a Google account you can create your own custom maps and add photos. This is a great way to record locations where you’ve taken photos.
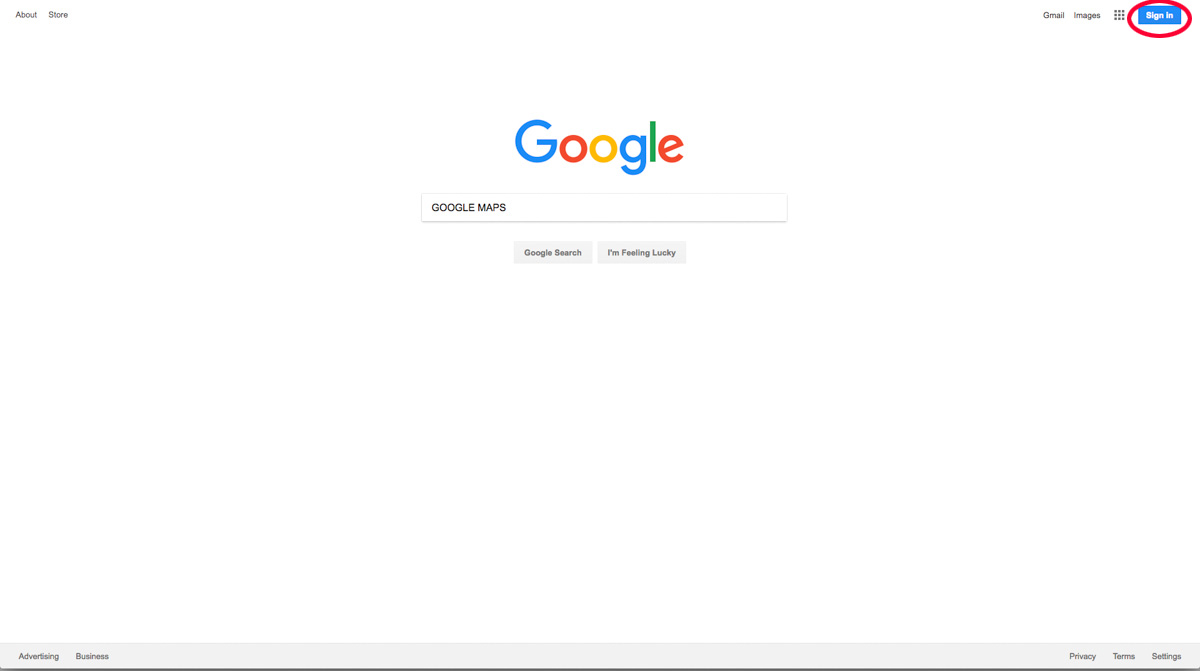
The first step, of course, is to log into my Google account.
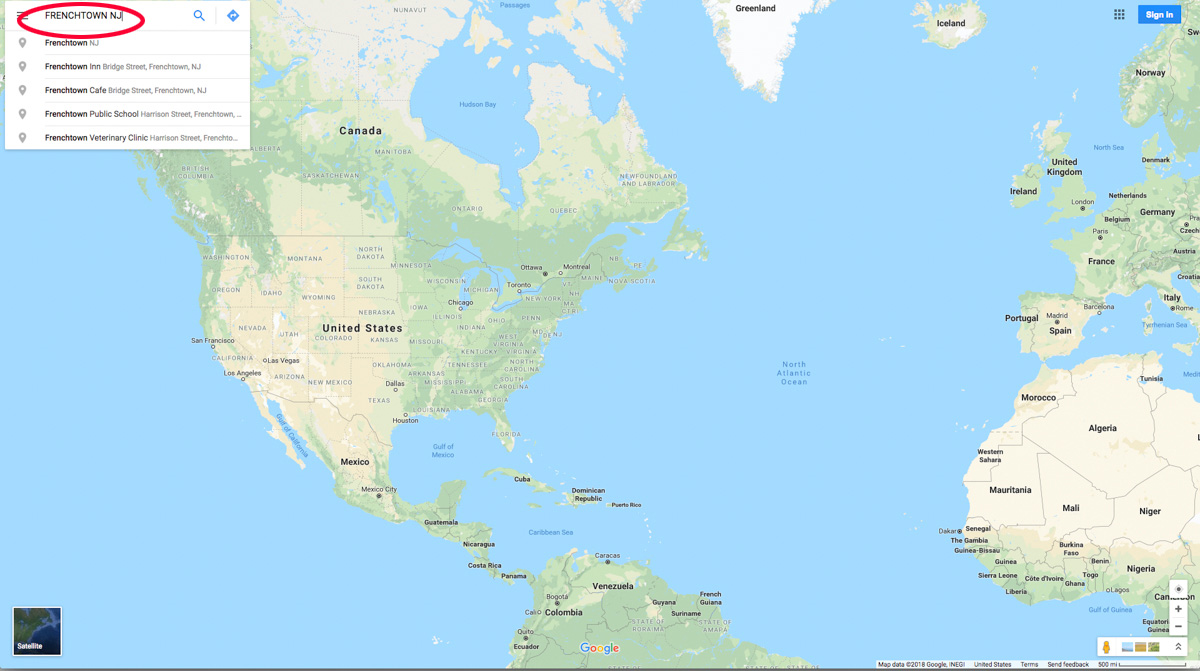
I go to Google Maps and search for my location. The photo I am going to add is in Frenchtown.
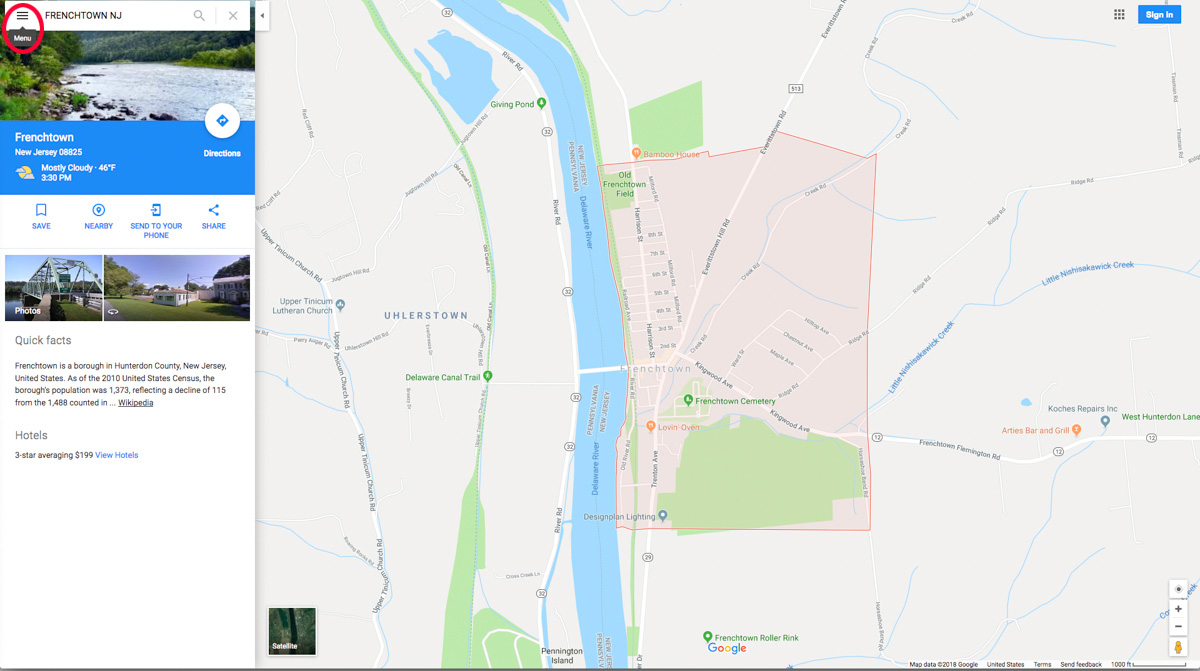
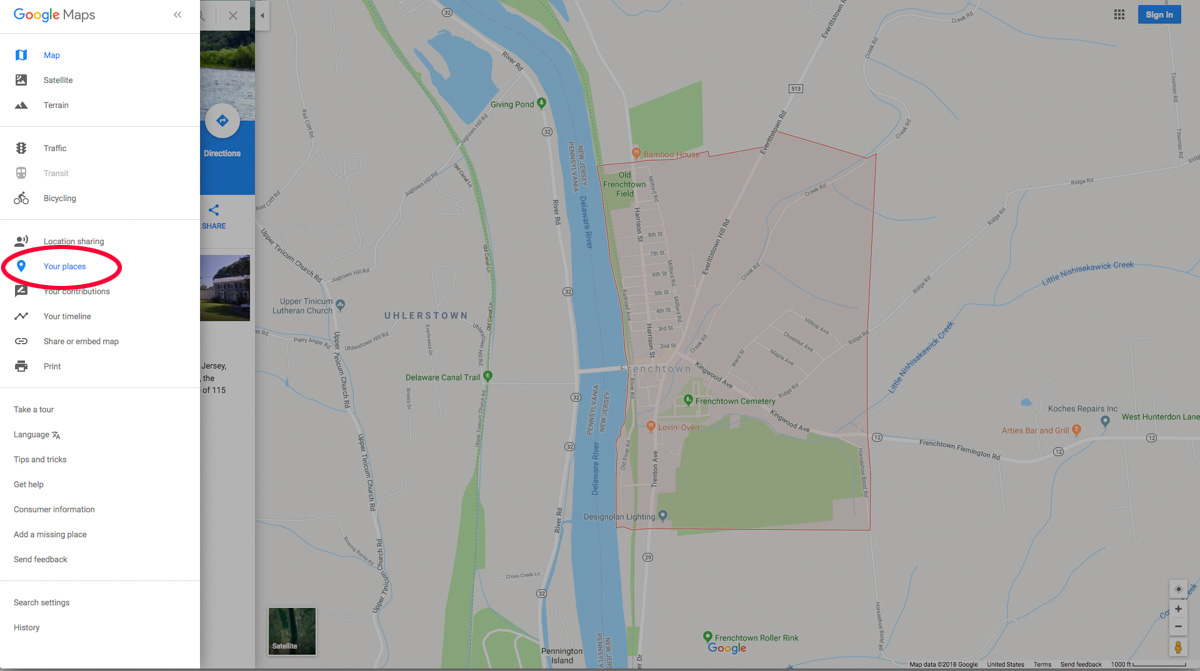
When the map takes me to Frenchown I click the “hamburger” in the upper left corner to display the map menu.
When the menu pops up I click on the little paddle that says “Places.”
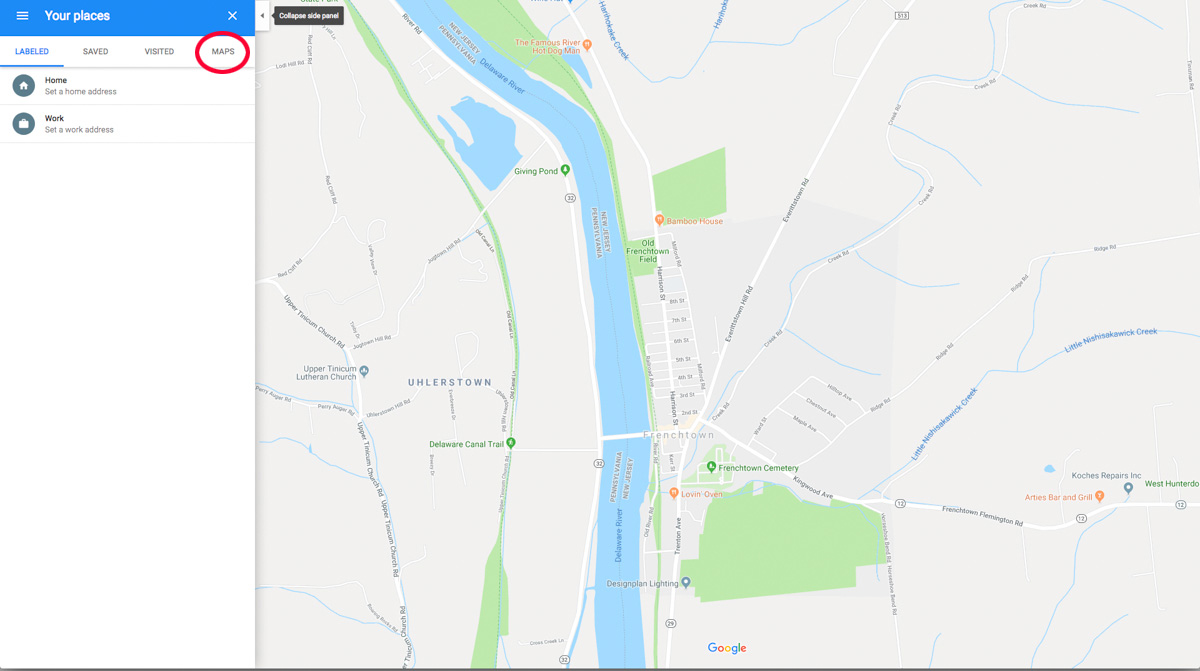
The Places link takes me to another screen where there are four choices at the top of the menu. I want to create a map, so naturally I click on the word “Map.”
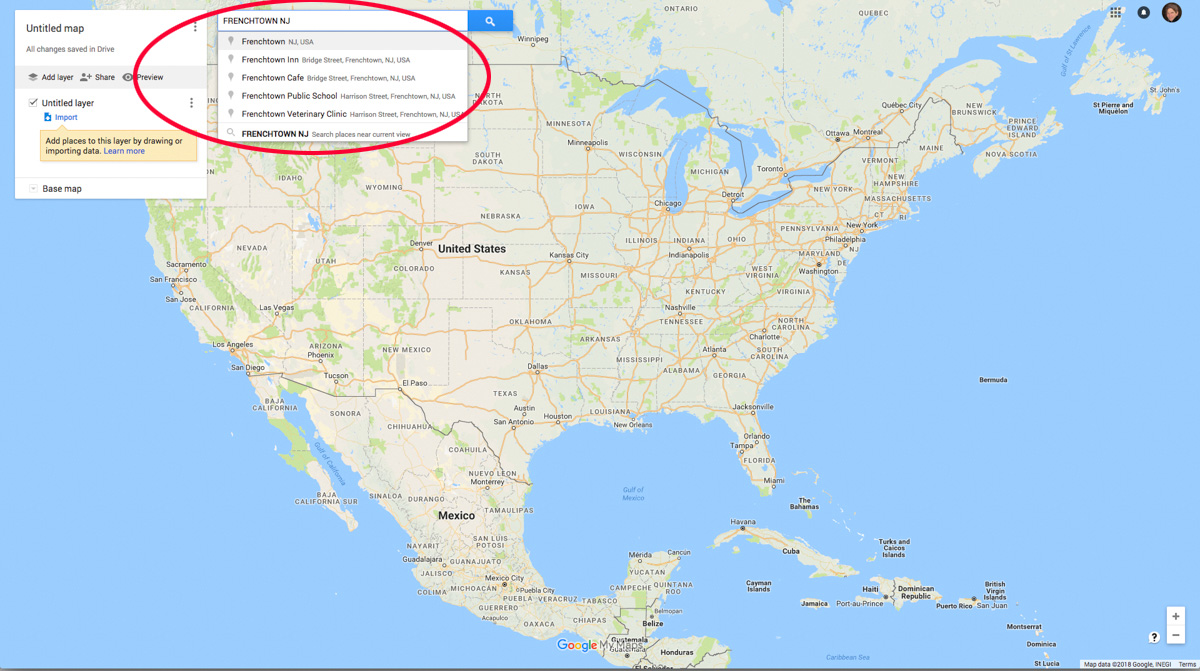
This will bring up maps I’ve created. I have a lot of maps I’ve already made. To create my new map I click on “CREATE MAP” at the bottom of the menu.

Now I need to search again for my location. (To tell the truth I didn’t really need to search for it the first time but it made a good way to start the blog post.)
When Google Map displays my location I can start adding points or polygons to it by clicking on one of the icons at the top of the screen. I want to create a point so I click on the little blue paddle icon.
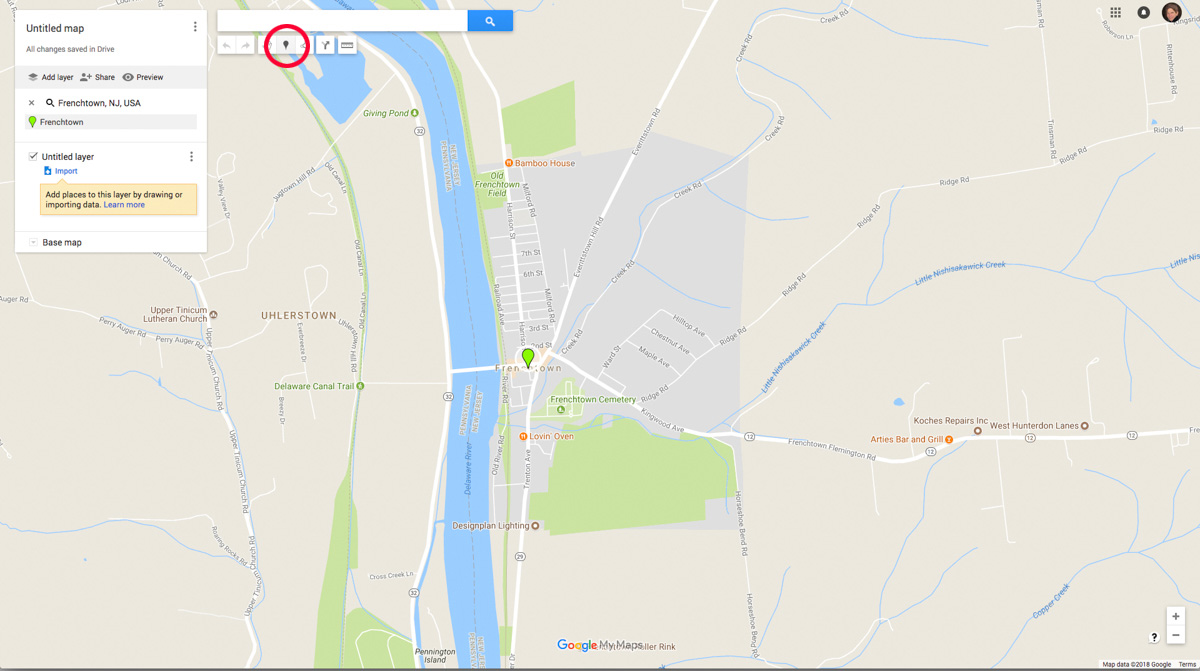
The next step is to click on the location of my photograph. To be precise I need to zoom in and click on the location of my photo. Here I am prompted to name my point.
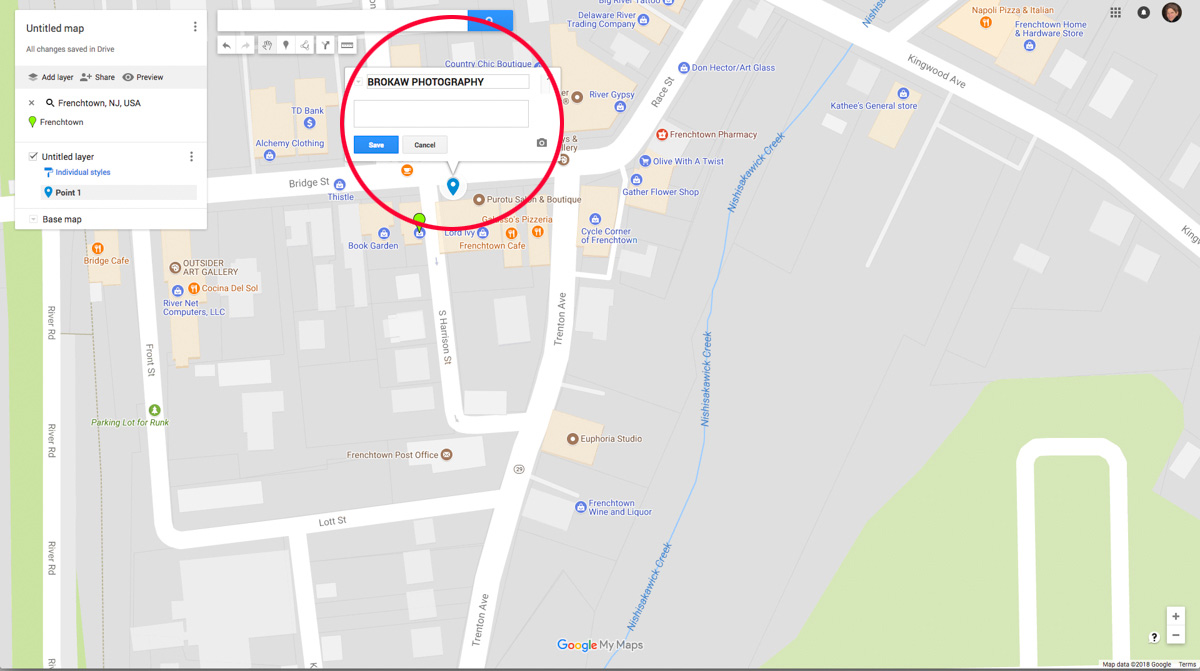
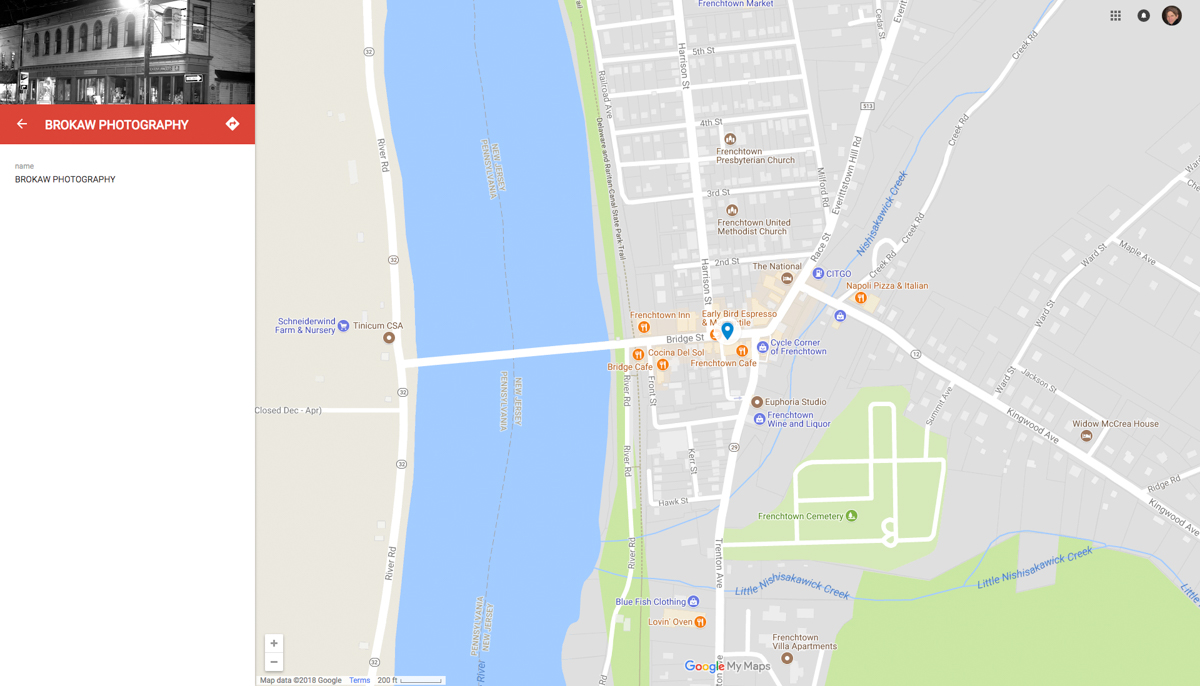
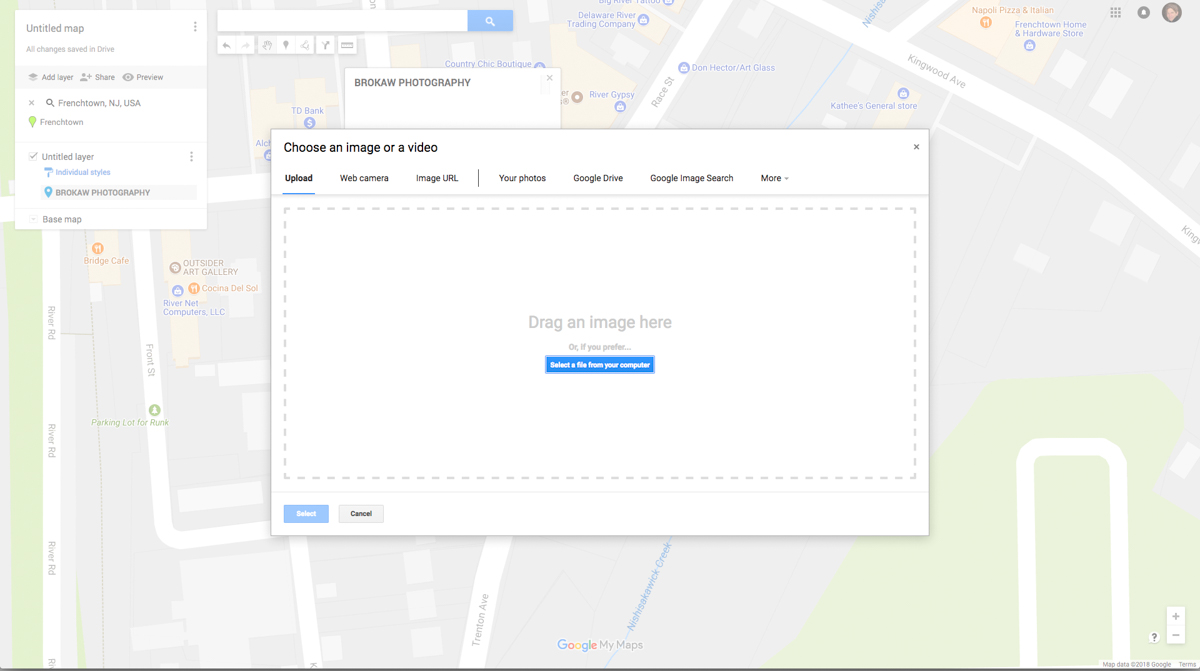
To add a photo I click on the little camera icon which will prompt me to upload a photo.

You can add a photo from your computer, Google Drive, your web camera a website or even YouTube. I upload my photo from my computer.
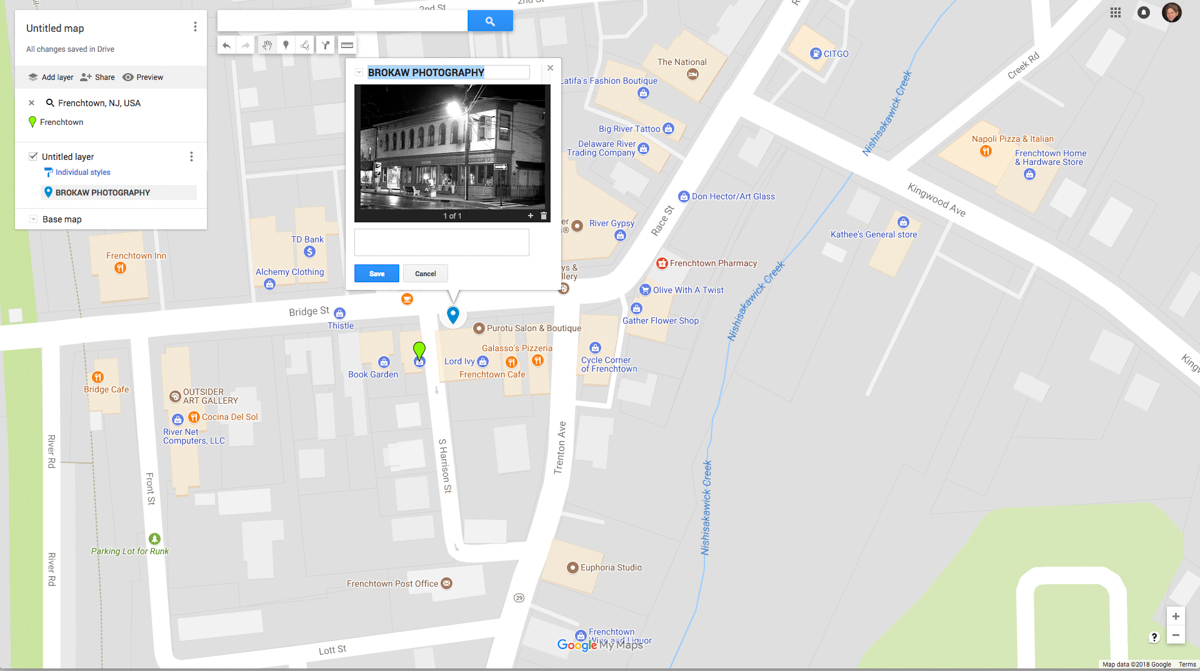
And Voila! My photo is now attached to the point on my map. I can add multiple photos to the same point as well as play with renaming the map, changing the icons and sharing my map with others.
When people view my map this is what they will see. Try it. Experiment. See what happens. It’s fun.